
Getting Started · 10 min read
How to Program Your First Lighting Show
Programming a show follows a repeatable flow: patch your fixtures, group them, build color and position presets, record looks as cues into a cue stack, then play those cues back live in order. Start simple with a handful of cues and layer in effects once the basics run cleanly.
Before you start
Have your fixture list and a rough plot (where each light is and what it's for). Programming goes twice as fast when you know the answer to "what is this light for?" before you touch a channel.
Step 1 — Patch your fixtures
Tell the console what lights you have and where they're addressed. In DMXpressions™ you pick each fixture from the profile library, choose its mode, and assign a DMX address and universe. Good patching is the foundation of everything that follows — get the modes and addresses right here and the rest is easy.
Step 2 — Make groups
Group fixtures you'll control together — "front wash", "back moving heads", "floor pixels". Groups let you select and adjust many fixtures at once instead of one at a time, which is the single biggest time-saver in programming. Also learn selection order: odd/even, reverse, and "shuffle" selections make chases and fans effortless later.
Step 3 — Build presets (palettes)
Presets store a single attribute you'll reuse: a color, a position, a gobo, a beam shape. Recording an "amber" color preset and a "downstage center" position preset means you can reference them in dozens of cues — and if you change the preset later (say the set moved), every cue that uses it updates automatically. This referencing is the professional's secret to shows that are quick to build and quick to fix.
Step 4 — Record cues
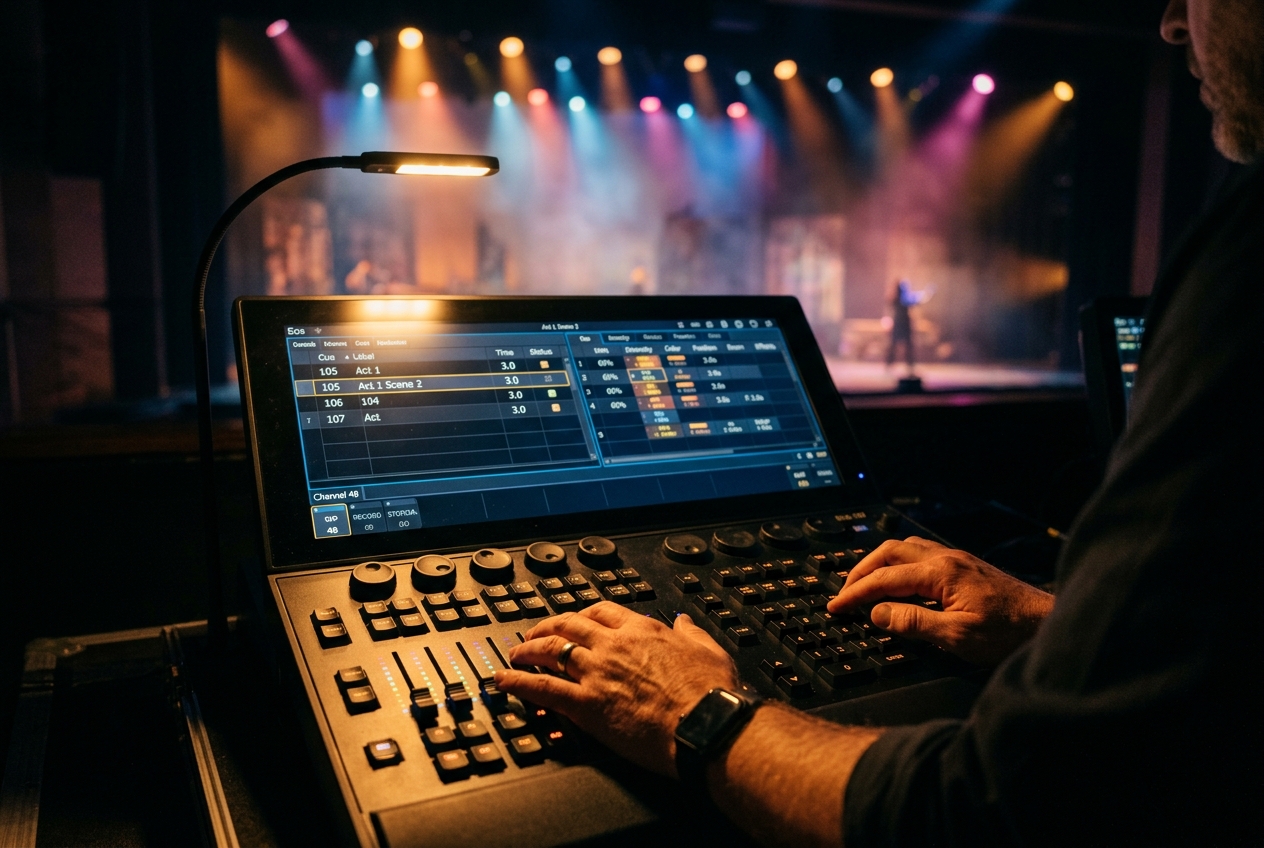
A cue is a snapshot of a look — which fixtures are on, at what levels, colors and positions. Set the stage the way you want it, then record it as a cue. Give each cue a fade time so it transitions smoothly, and consider separate up/down fade times for crossfades. Repeat for each moment of your show.
Tracking vs cue-only
In a tracking console, values stay set until you explicitly change them, so you only record what changes each cue. This keeps shows tidy but surprises beginners — if a light is on in cue 5 and you never turned it off, it's still on in cue 20. Understanding tracking early saves a lot of confusion.
Step 5 — Build the cue stack
Order your cues into a cue stack (a cue list). Running a show then becomes pressing GO to advance from one look to the next, with the console handling the crossfades. This is how theatre, corporate and worship shows run reliably every night with a single operator.
Step 6 — Add effects and playback
Once your base cues run cleanly, layer in movement chases, color effects and sound-reactive looks on separate playbacks/faders so you can bump them in and out live. Keep effects on top of your cue base rather than baked into it, so you stay flexible. See sound-reactive lighting for audio-driven ideas.
Step 7 — Preview before you go live
DMXpressions™' 3D visualizer lets you program and rehearse the entire show without the physical rig — invaluable for pre-production and for teaching. When you arrive at the venue, you patch to the real lights and your show is ready to run.
A realistic first-show target
Don't try to program 60 cues on day one. Aim for a clean 8–12 cue show: house/preset, a look per song or scene, a blackout, and one or two effects on faders. Nail that and you have a reliable show — then add polish.
New to fixtures? See moving head vs wash vs beam and the glossary.
Continue with DMXpressions™: see the related product workflow or review all platform features.